Hello everyone, and welcome to our guide series on the Tier 2 Dungeons of Throne and Liberty! Today, we're going to be taking a deep dive into two of the more complex, yet more interesting dungeons in the tier: Chamber and Carmine. These dungeons have undergone some major changes in recent patches, so some of the mechanics you'll see are now limited to challenge dungeons. While the Tier 2 dungeons have been nerfed, especially the final boss, we'll be covering the original mechanics, which will be useful if you venture into challenge dungeons. Here, I would like to introduce you to a great platform: MMOexp is a very reliable online trading market for Throne and Liberty Lucent. They have a strict verification process to ensure the legitimacy of their products, so every user can buy with confidence. By using mmoexp, you can easily get Lucent. If you encounter any trading-related problems, you can also contact the 24/7 customer service.
Chamber
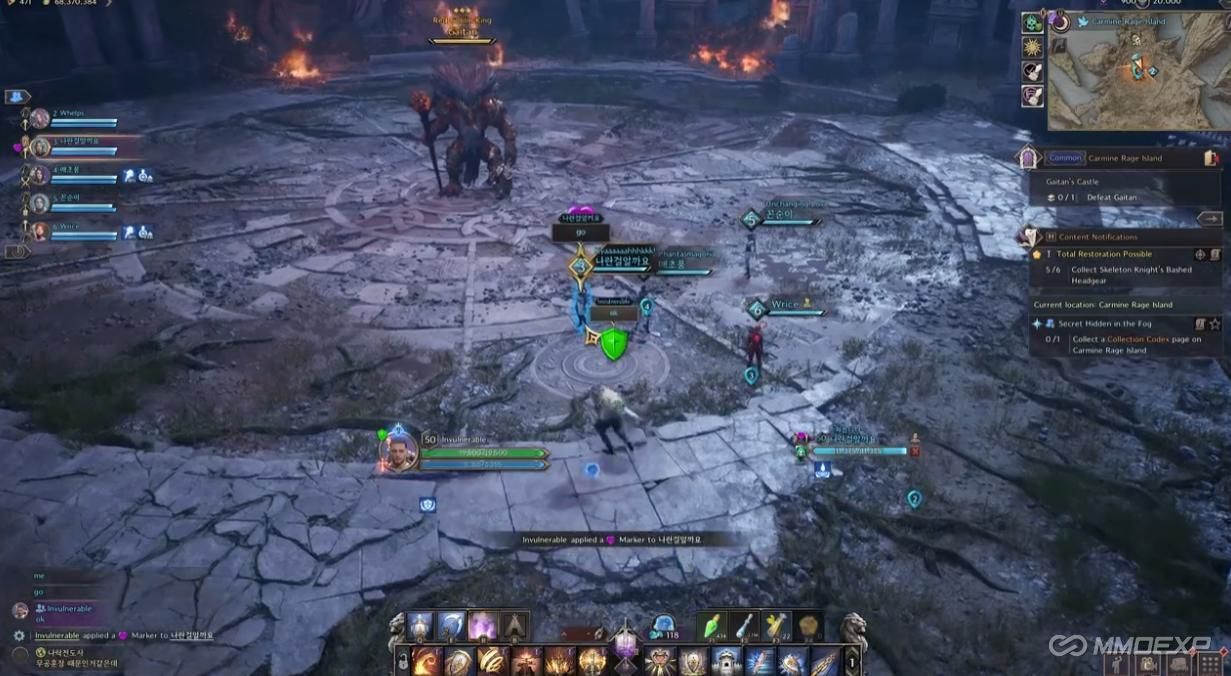
Introduction to Carmine (Also Known as Gan)
As you spawn into Carmine, you’ll encounter four mobs right away. Nuke them quickly; there’s nothing too special here. After they’re down, you’ll need to destroy a fence to progress. Moving forward, you’ll see a mob and get ambushed by a bunch of others. Tanks should pull everything together using abilities like Hook, Drastic Charge, or Strategic Rush, and the group should nuke them down.
The Goblin Ambush
Entering the next room, you’ll be ambushed by six goblins, each with a different name. One player will be marked with a red symbol, indicating which goblin to kill. Call out the goblin’s name in chat (e.g., Greedy or Cheeky), and everyone should focus on that mob. If you kill the wrong goblin, it will explode and wipe your group. This buff will switch between players, so communication is key.
The First Mini Boss
The first mini-boss has a unique mechanic involving six pillars around the arena. When you summon the boss with a fiery orb, each pillar will glow with a specific color for a few seconds. Memorize these colors because they will disappear, and a color will appear above each player's head. You must take your color to the corresponding pillar to get a shield, protecting you from a mechanic that reduces you to 1 HP if you’re unshielded.
If memory isn’t your strong suit, assign each player to a pillar and call out the colors when they appear. For example, say “one red, two blue” in chat. Once shielded, focus on dodging or blocking the boss’s fury attacks, which are slow projectiles, and avoid any damaging circles on the ground.
Progressing to the Second Mini Boss
After defeating the first mini-boss, head down the pathway, dealing with mobs on the right and left. You can drag mobs into exploding mines for a quicker kill. These mines will blow up the fence, spawning more adds. Stack up on these adds and press Q to block when a circle appears under you, preventing damage.
As you cross a bridge, more mines will spawn. Pull the adds into the mines to expedite their defeat. Tanks can have fun by hooking mines into the group, but be cautious as it might not be appreciated by all party members.
The Second Mini Boss
The second mini-boss involves three floating platforms. Fly across to these platforms as needed. This boss has a familiar circle mechanic, which you must block after a few seconds. He also has a frontal cone fury attack, so tanks should face him away from the group.
The boss will summon bombs, which you need to auto-attack off the cliff. You can’t push them with abilities anymore, so keep auto-attacking to prevent them from exploding near you. When the boss says, “There’s a real art to explosions, isn’t there?”, move to the second platform via the floating pillar.
Rinse and repeat the bomb mechanic and block the red explosions as necessary. You’ll need to move to the third platform at some point. Note that a previous bug allowing you to push the boss off the cliff has been fixed.
The Final Boss: Gan
Preparation and Mechanics
For the final boss, Gan, place pins as shown in the video. Designate each player to a pin (1 to 5) for the lineup mechanic. Mark the tank with a shield icon and the pin one player with any icon for simplicity. The pin one player should be the longest range DPS, while the tank goes on pin two to absorb the most damage. Pin five is for the squishiest DPS and the healer, while pins three and four can be any other players.
The pin setup helps with the lineup mechanic during the pillar phase. The boss will charge the longest range player, so understanding their position is crucial to avoid getting in the way.
Boss Fight Pattern
Gan follows a general pattern, making the fight easier if you memorize it. Here's the breakdown:
1. Initial Phase: Start by dealing with basic attacks and avoiding circles on the ground.
2. Lineup Mechanic: During the pillar phase, line up according to your designated pins. This ensures everyone is in the correct position to handle the mechanics.
3. Charge Mechanic: Gan will charge the longest range player. Move out of the way to avoid being hit.
4. Pillar Phase: Players need to move to the corresponding pillars based on the colors that appear above their heads, just like with the first mini-boss.
Summary and Tips
Understanding Gan’s pattern and mechanics, from the lineup to the charge and pillar phases, will make this fight much more manageable. Communication and coordination are key to successfully navigating these challenging dungeons.
That wraps up our Tier 2 dungeon series for Throne and Liberty! Remember, while the recent patch has made these dungeons easier, the challenge dungeons will still test your skills with these mechanics. Looking to enhance your Throne and Liberty experience without breaking the bank? MMOexp is your go-to source for cheap TL Lucent, offering unbeatable prices and reliable service. Whether you're gearing up for intense battles or expanding your in-game assets, MMOexp ensures you get the best value for your money. With their secure transactions and prompt delivery, you can focus on conquering the world of Throne and Liberty while MMOexp takes care of your Lucent needs. Don't miss out on this opportunity to level up efficiently—check out MMOexp today for the most affordable TL Lucent available! Good luck, and see you in the next guide!
MMOexp Throne and Liberty Team