In this guide, we'll guide you through a strategic adventure in Elden Ring to acquire the Traveler Armor Set and collect valuable Forgestones—all while keeping your character, Sammy the Samurai, in tip-top shape. While Sammy may think "armor is for [ __ ]," there are times when armor is vital, especially against certain enemies. Let's dive in and learn how to acquire the Traveler Armor Set and score some serious loot! Also, If you're an Elden Ring player looking to enhance your gameplay experience, MMOexp is the go-to platform for all your needs. With a reliable and secure service, MMOexp offers Elden Ring Runes at unbeatable prices, allowing you to level up faster, upgrade your gear, and tackle the toughest bosses with ease. Whether you're exploring the Lands Between or seeking to perfect your build, acquiring Elden Ring Runes from MMOexp ensures you have the resources to maximize your character's potential. Enjoy quick delivery, exceptional customer support, and the freedom to conquer the game on your terms with MMOexp.
Why the Traveler's Armor Set?
Before heading into Liurnia of the Lakes, it’s a good idea to equip the Traveler's Armor Set found in the Street of Sages Ruins in Caelid. This set provides better focus, reducing the likelihood of being put to sleep by those pesky giant crabs. It also offers enhanced magic resistance, which comes in handy against the Cuckoo Glintstone Sorcerers in Liurnia.
Getting to the Traveler's Armor Set
The quickest way to reach the Traveler's Armor Set is by using the transport trap in Dragon Burnt Ruins, which teleports you directly to the Sellia Crystal Tunnel in Caelid. Though Sellia Crystal Tunnel is officially a high-level area, with a solid plan, you can easily navigate and defeat the enemies there, excluding the Fallen Star Beast boss.
Preparing for Dragon Burnt Ruins
Equipment and Items Needed:
· Bone Darts: Perfect for pulling enemies from a distance.
· Fire Pots: Essential for dealing high damage to tough enemies.
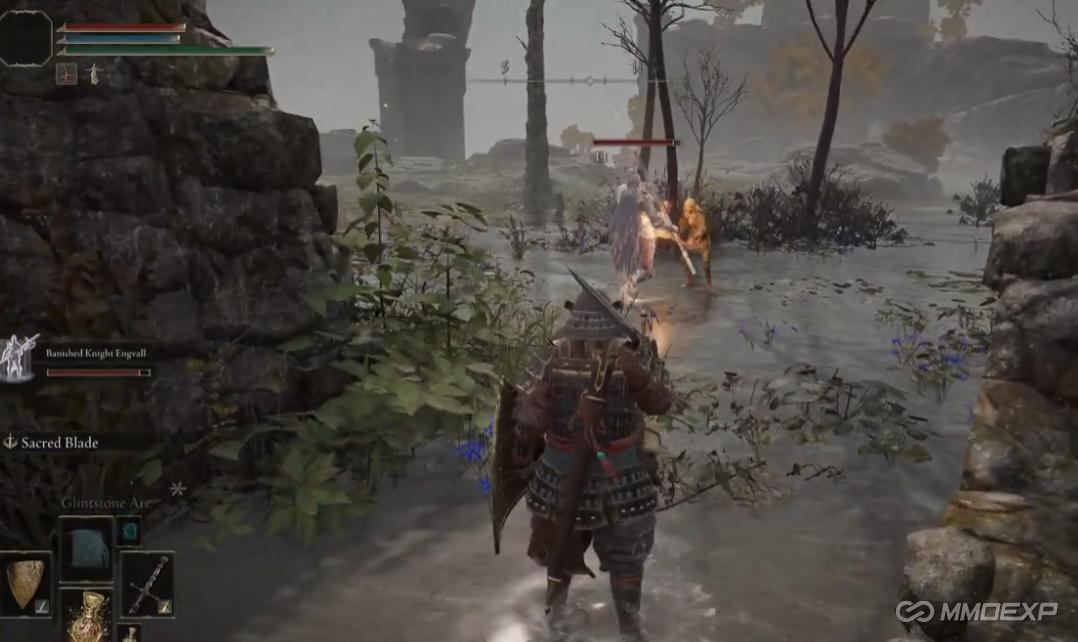
· Banish Knight Engvall Spirit Ashes (aka Spanky): Our trusty summon who will handle most of the heavy lifting in the Ruins.
Key Loot in Dragon Burnt Ruins:
· Smoldering Butterflies
· Stone Sword Key
· Trina's Lily
· Twinblade
Strategy:
1. Summon Spanky: Once you reach the perimeter of the Dragon Burnt Ruins, summon Spanky. Let him do most of the fighting while you stay back and keep Sammy safe.
2. Watch for Dogs: Dogs are the most dangerous enemies here, so stay back and let Spanky handle them.
3. Loot and Refill Flasks: Clear all enemies to trigger an enemy group refill, which will replenish all your flasks.
4. Grab the Twinblade: Located in a walled-off area in the ruins, head to the cellar to collect the Twinblade.
Note: If you have a better name for Spanky, leave it in the comments! If your suggestion is better, it might get featured.
Navigating Sellia Crystal Tunnel
Once you've looted Dragon Burnt Ruins, use the transport trap disguised as a chest to teleport to Sellia Crystal Tunnel.
Gear Up for Sellia Crystal Tunnel:
· Large Club: Great for dealing strike damage, which is particularly effective against the tough miners.
· Arrows Reach Talisman: For better range with your bow.
· Firebone Arrows: Your primary arrows for tackling enemies at a distance.
Strategy in Sellia Crystal Tunnel:
1. First Steps: Immediately after teleporting, loot the chest to your left while avoiding detection by a patrolling miner.
2. Handling Death Roaches: Use fire pots to take out the pestilent enemies (aka death roaches). Make sure to take your Flask of Wondrous Physick with the Strength-Knot Crystal Tear for an easy two-hit kill.
3. Clear Miners with the Club: Miners have high resistance to slashing attacks but are vulnerable to strike damage from the club. A charged attack will instantly kill them.
4. Timing: Avoid triggering the third death roach too early by staying behind the marked candle line until the nearby miner patrols past. Rush the death roach quickly to eliminate it before it fully wakes up.
5. Final Sweep: Finish off the remaining miners and loot all four Smithing Stone [5] locations.
Final Tips
· Always ensure Sammy stays healthy. Use Assassin's Crimson Dagger for emergency healing through critical hits.
· Keep an eye out for ambushes, especially in tighter spaces like the miner’s cabin.
· Don’t rush; use strategy and keep your wits about you to survive the tunnel and gather all the loot.
With these tips and strategies, you can not only obtain the Traveler Armor Set, but also earn valuable Forge Stones to upgrade your gear. Finally, For Elden Ring players eager to gain an edge in their journey, MMOexp is the ultimate destination to buy Elden Ring items. Whether you're hunting for rare weapons, powerful armor, or crucial upgrade materials, MMOexp provides a vast selection of in-game items at competitive prices. Their secure and fast service ensures you can quickly enhance your character and explore the most challenging areas of the game without delay. With MMOexp, you can confidently buy Elden Ring Items and unlock new possibilities in your gameplay, making it easier to conquer the toughest foes and uncover the game's hidden secrets. Experience smooth transactions, swift delivery, and exceptional customer support that MMOexp is known for, giving you more time to enjoy the epic adventure of Elden Ring. Good luck, Tarnished, and stay tactical!
MMOexp Elden Ring Team